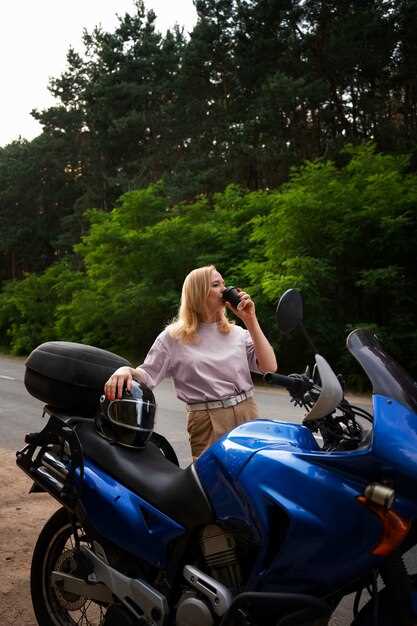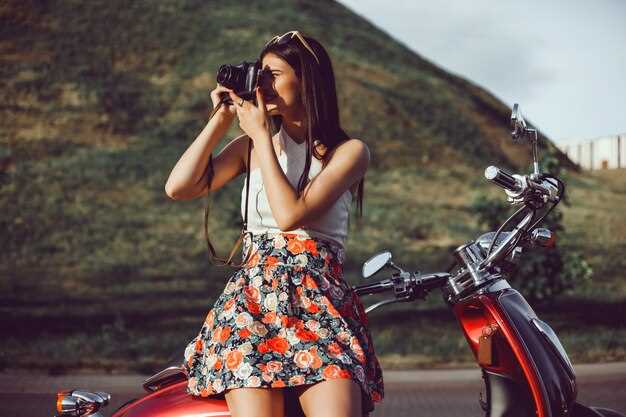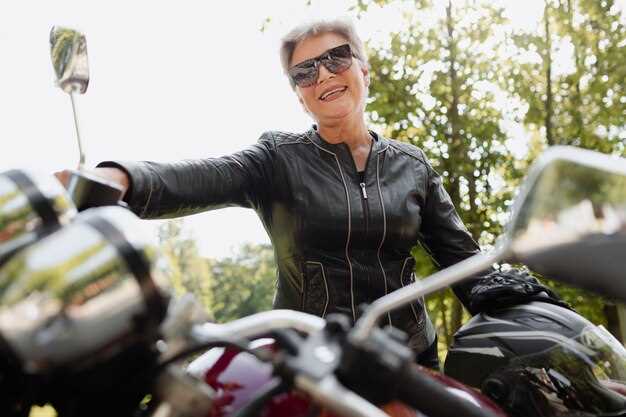
Embarking on a motorcycle journey offers not only the thrill of the open road but also countless opportunities for capturing breathtaking photographs. Whether you’re cruising along coastal highways or weaving through winding mountain passes, the need to document your adventures is undeniable. However, taking great photographs while riding doesn’t simply rely on having a good camera; it requires a combination of planning, technique, and creativity.
In this article, we’ll delve into essential tips that will elevate your motorcycle travel photography. From choosing the right gear to understanding optimal lighting conditions, each aspect plays a crucial role in ensuring your images reflect the beauty and excitement of your journey. By the end, you’ll be equipped with the knowledge to take stunning shots that encapsulate the essence of your travels.
Embrace the art of storytelling through your photographs. Each image should convey a sense of place and adventure, inviting viewers to share in your experiences. As you ride into new landscapes, remember that the journey itself is just as significant as the destination. With the right approach and mindset, you can transform simple snapshots into compelling visual narratives.
Join us as we explore the key techniques and strategies that every motorcycle travel photographer should know, ensuring your ride is not only memorable but also beautifully documented.
Choosing the Right Equipment for Motorcycle Photography

Selecting the right equipment is crucial for capturing stunning motorcycle travel photographs. Start with a dependable camera that fits your level of expertise. A DSLR or mirrorless camera is ideal for their versatility and image quality. If you’re looking for something more portable, consider a high-quality compact camera, but ensure it has manual control options for better creativity.
Lenses play a significant role in motorcycle photography. A versatile zoom lens, such as a 24-70mm, allows you to capture everything from wide landscapes to close-up details of your bike. If you’re interested in dramatic shots, a fast prime lens with a wide aperture (like a 50mm f/1.8) can provide beautiful background blur and excellent low-light performance.
Stabilization is key in motorcycle photography due to movement on the road. Opt for a camera with in-body stabilization (IBIS) or invest in a good tripod or monopod for stationary shots. Many photographers also use gimbals for video to maintain smooth footage during a ride.
Carrying extra batteries and memory cards is essential, as you don’t want to miss a moment due to an empty battery or full storage. A waterproof or rugged camera bag will protect your gear from the elements while you’re traveling. Look for bags that can be securely attached to your motorcycle for ease of access.
Lastly, don’t overlook the importance of accessories. Circular polarizers can reduce glare and enhance colors in sunny conditions, while neutral density filters allow for creative long exposures. A remote shutter release is useful for self-portraits or minimizing camera shake during long exposures.
Mastering Composition Techniques While on the Road
When capturing the essence of motorcycle travel photography, mastering composition techniques is crucial for creating stunning visuals. The arrangement of elements within your frame can significantly influence the impact of your images. Here are some essential techniques to keep in mind while on the road.
Rule of Thirds: This fundamental principle divides the frame into a grid of nine equal parts. By placing the main subject along these lines or at their intersections, your photographs will be more balanced and engaging. For instance, position your motorcycle off-center against a picturesque backdrop to draw the viewer’s eye.
Leading Lines: Utilize natural or man-made lines–like roads, fences, or paths–to guide the viewer’s gaze towards your subject. These lines can create depth and lead the viewer’s eye through the frame, resulting in a more dynamic composition. Look for curves and angles that enhance the journey aspect of your shots.
Framing: Use surrounding elements to frame your subject. Whether it’s trees, arches, or even an overhanging bridge, framing adds context and focus, isolating your motorcycle and making it stand out. This technique enhances the narrative of your adventure while adding layers to the image.
Negative Space: Don’t be afraid of negative space–the area surrounding your subject. It can create an emotional response, emphasizing solitude or adventure. A wide-open landscape with a small motorcycle in the foreground can evoke feelings of freedom and exploration, emphasizing the journey over the machine.
Perspective and Angles: Experimenting with different angles can add interest to your shots. Low-angle shots can give a sense of grandeur to your motorcycle, while high vantage points can provide context about the landscape. Changing your perspective encourages creativity and can yield unexpected results that stand out.
Depth of Field: Use a shallow depth of field to isolate your motorcycle from the background, creating a beautiful bokeh effect. This method emphasizes the subject and reduces distractions, making it the centerpiece of your image. Conversely, a greater depth of field keeps more of the scene in focus, ideal for expansive landscapes.
Timing and Light: Consider the quality of light during different times of the day. Golden hour–shortly after sunrise or before sunset–provides warm, soft light that enhances colors and textures. This time is perfect for capturing sweeping landscapes and the gleam of your motorcycle, adding a magical touch to your photographs.
Incorporating these composition techniques can elevate your motorcycle travel photography, transforming ordinary snapshots into compelling visual stories that capture the spirit of adventure. Practice these techniques during your rides to refine your skills and develop your unique style.
Utilizing Natural Light for Dynamic Motorcycle Shots

Natural light is an essential component in capturing dynamic motorcycle shots that can convey speed, movement, and emotion. The direction and quality of light significantly affect the overall look of your images, so understanding how to utilize it is crucial for any photographer.
The golden hour, shortly after sunrise and before sunset, provides soft, diffused light that enhances the contours of the motorcycle while casting long shadows that add depth. This warm glow can create a dramatic backdrop, accentuating the bike and rider. Aim to plan your shoots during these times to achieve that vibrant, cinematic feeling in your photographs.
When shooting in bright midday sun, be mindful of harsh shadows and blown-out highlights. Position your motorcycle in such a way that it benefits from diffused light–such as under the shade of trees or near buildings. This can help soften the light, resulting in more balanced exposure and vivid colors.
Experimenting with backlighting can also yield stunning results. By positioning the sun behind the motorcycle, you can create a halo effect that emphasizes motion and adds a sense of drama to your shots. It’s essential to use a lens hood to prevent lens flare and to adjust your exposure settings accordingly to avoid overexposed highlights.
Additionally, consider using reflectors to bounce natural light onto your subject. A simple white or silver reflector can fill in shadows, allowing for more detail in the bike’s features. This technique is particularly useful when dealing with unevenly lit areas.
Finally, pay attention to the weather conditions. Cloudy days can provide an excellent opportunity for photography as the clouds act as a natural diffuser, softening the light and reducing contrast. On these days, you can capture the rich colors and details of the motorcycle without the harshness of the sun.
By harnessing the power of natural light, you can elevate your motorcycle photography, creating images that are not only dynamic but also visually compelling.