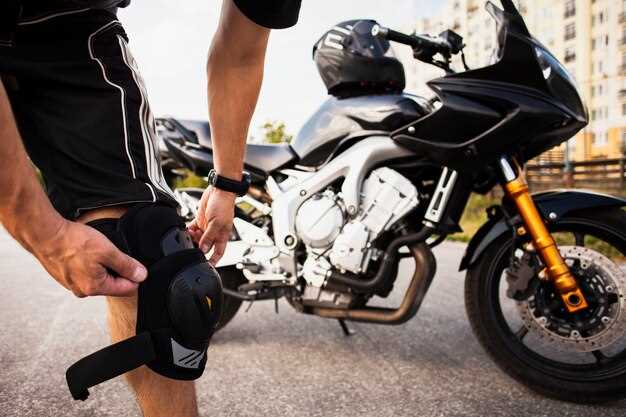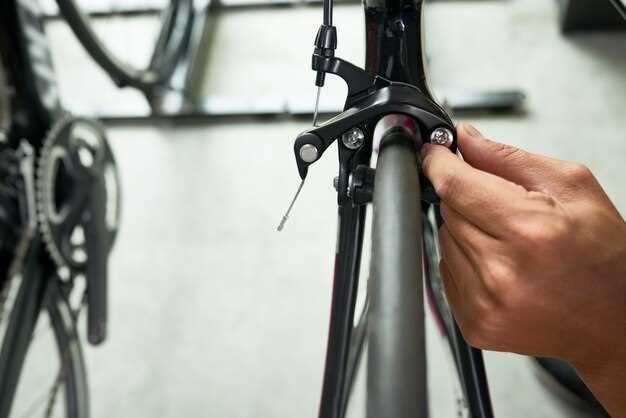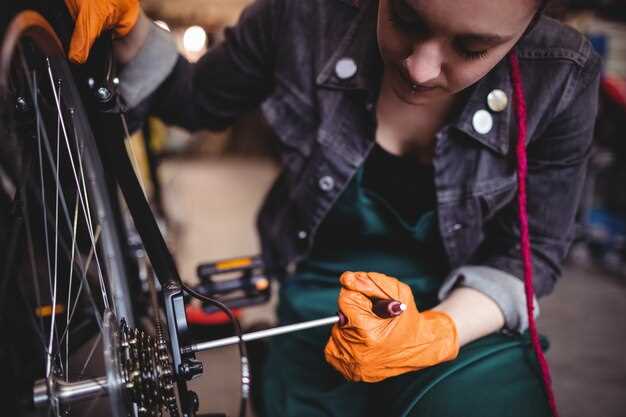
Replacing brake pads on your sport bike is an essential maintenance task that ensures your safety and enhances the performance of your ride. Over time, brake pads wear down due to friction and exposure to various environmental factors. If you notice reduced braking efficiency or hear unusual noises when engaging the brakes, it’s crucial to address the issue promptly.
This guide will walk you through the steps necessary to replace the brake pads effectively. Whether you are a seasoned rider or a novice enthusiast, having a clear understanding of the procedure will empower you to perform this task confidently. We will cover the tools required, safety precautions to take, and detailed instructions for the process.
By taking the time to learn how to replace your sport bike’s brake pads, you can save on costly mechanic fees and gain intimate knowledge of your machine. A well-maintained braking system not only contributes to optimal performance but also plays a vital role in your overall riding experience. Let’s dive into the process and ensure your bike stops as effectively as it should.
Choosing the Right Brake Pads for Your Model

Selecting the appropriate brake pads for your sport bike is crucial for ensuring optimal performance, safety, and longevity. Not all brake pads are created equal; they are designed with specific materials and characteristics that cater to various riding styles, environments, and bike models.
Understand Your Riding Style: The first step in choosing brake pads is to evaluate your riding habits. If you frequently ride at high speeds or on racetracks, consider high-performance pads that offer better heat resistance and shorter stopping distances. Conversely, if you primarily ride in urban settings, standard pads that prioritize longevity and smooth braking might be more suitable.
Know Your Bike’s Specifications: Each sport bike has unique requirements based on its weight, engine power, and braking system. Consult your owner’s manual or contact the manufacturer to determine the compatible brake pad types for your model. This information will help narrow down your choices significantly.
Material Matters: Brake pads are typically made from three main materials: organic, semi-metallic, and ceramic. Organic pads offer a softer, quieter ride, but may wear out faster. Semi-metallic pads provide excellent performance and heat dissipation, making them a popular choice for sport riders. Ceramic pads are known for their durability and noise reduction, providing a balance between performance and comfort. Evaluate the pros and cons of each material to select what best fits your needs.
Consider Environmental Conditions: If you ride in wet or cold conditions, you’ll need brake pads that perform well under these circumstances. Look for pads specifically designed to offer better wet weather performance and enhanced grip. Options that include slotted or drilled designs can also help with water evacuation and improve performance in adverse conditions.
Check for Reviews and Recommendations: Researching user experiences can provide valuable insight into which brake pads work best for your specific model. Look for product reviews, ratings, and feedback from other sport bike owners. Their firsthand experiences can help inform your decision and expose any potential issues.
Budget Considerations: While it may be tempting to go for the cheapest option, investing in quality brake pads can save money in the long run. Lower-priced pads may not provide the necessary performance and could wear out faster, leading to more frequent replacements. Balance your budget with the importance of safety and performance.
By understanding your riding style, your bike’s specifications, materials available, and user experiences, you can confidently select the right brake pads for your sport bike. Remember, effective braking contributes not only to performance but also to your overall safety on the road.
Step-by-Step Procedure for Removing Old Brake Pads

Ensure the motorcycle is on a stable surface and securely supported using a bike stand. This will prevent any movement while you work on the brakes.
Start by loosening the front or rear wheel axle nut, depending on which brake pads you’re replacing. Use the appropriate size socket or wrench to avoid damaging the nut.
Next, remove the wheel by unscrewing the axle nut completely and carefully sliding the wheel out of the forks or swingarm. Set it aside in a safe location.
Locate the brake caliper, which is usually situated near the rotor. Inspect the caliper for bolts or pins securing it in place. Using the correct tool, typically a socket or Allen wrench, remove these fasteners carefully.
Once the caliper is free, gently slide it off the rotor. Be cautious not to let the caliper hang by the brake line, as this can cause damage. Use a bungee cord or similar to suspend it if needed.
With the caliper removed, locate the brake pads within it. Most calipers will have an easily accessible clip or retaining pin holding the pads in place. Remove this clip or pin using pliers or a screwdriver.
Carefully slide out the old brake pads from the caliper. Take note of their orientation and how they fit within the caliper to ensure correct installation of the new pads later.
Inspect the caliper for any debris or buildup that may have accumulated over time. Clean the caliper with brake cleaner if needed, readying it for the new pads.
Finally, check the brake piston within the caliper. If it has extended due to worn pads, carefully compress it back into the caliper using a suitable tool or a c-clamp, creating space for the new pads. You’re now ready for the installation of new brake pads.
Proper Installation Techniques for New Brake Pads
When installing new brake pads on your sport bike, it is crucial to follow specific techniques to ensure optimal performance and longevity. Begin by ensuring that the bike is on a stable stand, preventing any movement during the process. This provides a secure environment for working on the brakes.
Before removing the old brake pads, inspect the entire brake system, including rotors and calipers, for any signs of damage or wear. Clean the caliper and surrounding area using brake cleaner to remove dust and grease. This step is essential to avoid contamination of the new pads.
Remove the wheel to access the brake caliper. Following the manufacturer’s instructions, detach the caliper from its mounting position. Gently slide out the old brake pads, taking care not to damage any brake hardware.
Prepare the new brake pads for installation. Apply a thin layer of brake grease to the back of each pad where it contacts the caliper to reduce vibration and noise. Avoid applying grease to the pad’s friction surface, as this can compromise braking performance.
Position the new pads into the caliper, ensuring they align correctly with the caliper bracket. Push them into place firmly, and make sure they are seated correctly. Reattach the caliper, ensuring all bolts are tightened to the manufacturer’s torque specifications to guarantee a secure fit.
After the caliper is secured, reinstall the wheel and tighten it to the recommended specifications. Before taking the bike for a ride, pump the brake lever a few times to ensure that the pads make contact with the rotor, restoring proper brake function.
Finally, conduct a test at low speeds to assess the brakes’ responsiveness. If everything feels solid, the installation process is complete, and your sport bike is ready for the road.