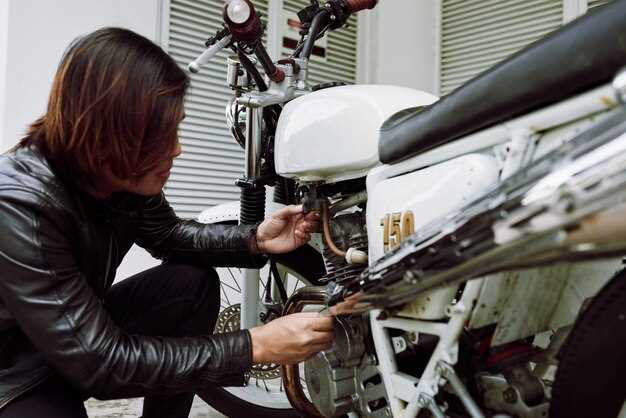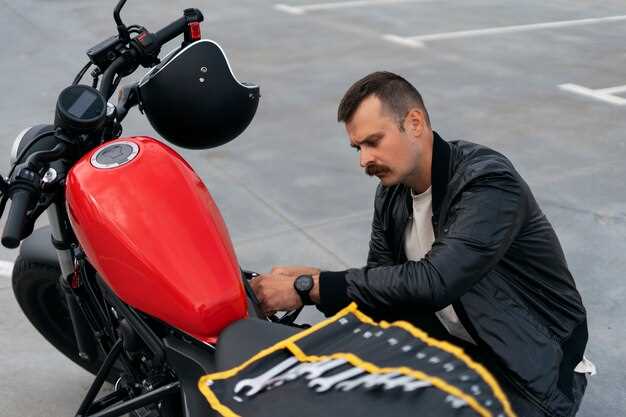
Embarking on a custom motorcycle project is an exhilarating journey that combines creativity, technical expertise, and a passion for two-wheeled machines. Whether you are an experienced builder or a novice enthusiast, setting clear goals and understanding the essentials can pave the way for a successful build.
The first step in your custom motorcycle project is to define your vision. Consider what type of motorcycle you want to create: a powerful café racer, a rugged scrambler, or perhaps a sleek chopper. Each style comes with its own set of challenges and unique characteristics. Establishing a clear direction will streamline the decision-making process and help you focus on acquiring the right parts and tools.
Next, research is crucial. Learn about different motorcycle components, understand their functions, and explore various building techniques. Familiarize yourself with the regulations in your area, as some modifications may need to meet specific legal standards. Equipping yourself with knowledge will not only save time and money but also prevent common pitfalls during the build.
Finally, gather your resources. Building a custom motorcycle often requires tools and parts that can be costly. Start by budgeting for essential components and consider sourcing used parts to keep expenses down. Networking with local bike shops and online forums can provide valuable insights and potential partnerships for your project. With the right preparation, you can transform your dream bike into a reality.
Choosing the Right Base Motorcycle for Your Custom Build
Selecting the ideal base motorcycle is critical for any custom build project. The foundation you choose will significantly impact the overall design, functionality, and feel of the finished bike. Here are key factors to consider when making your decision.
1. Purpose and Style: Identify the primary purpose of your custom motorcycle. Do you want a cafe racer, chopper, bobber, or cruiser? Understanding the style you aim to achieve will narrow down your options and help in selecting a motorcycle that can effectively be transformed into your vision.
2. Engine Size and Type: Consider the engine size and type that suits your riding style. Larger engines often provide more power but can add weight and complexity. If you’re aiming for a nimble, lightweight bike, a smaller engine might be preferable. Engine configurations, such as V-twin or parallel twin, also influence performance and aesthetics.
3. Frame Compatibility: The frame is the backbone of your motorcycle. Ensure that the chosen base has a frame that aligns with your intended modifications. Assess the frame material, geometry, and overall condition; a solid, rust-free frame is essential for a successful build.
4. Aftermarket Support: Some motorcycle models have a strong aftermarket community offering parts and accessories. Choosing a bike with widespread support can save time and money during your build. Popular models like Harley-Davidson, Honda CB series, or Triumph often have extensive customization options available.
5. Budget: Establish a budget for your project early on. The cost of the base bike, along with anticipated modifications, should be factored in. Some bikes may require costly components or extensive modifications, while others offer a solid platform for budget-conscious builders.
6. Personal Connection: Lastly, consider whether you have a personal connection to a specific motorcycle. A model that resonates with you can enhance your motivation and satisfaction during the build process. Enjoyment in the project often leads to a more fulfilling final result.
By carefully evaluating these factors, you can choose the right base motorcycle for your custom project, setting the stage for a successful and rewarding build journey.
Essential Tools and Materials You Need for Motorcycle Customization

Embarking on a motorcycle customization project requires a well-equipped workshop to ensure safety and efficiency. Here’s a comprehensive list of essential tools and materials you’ll need to kickstart your project.
First, a good set of hand tools is foundational. This includes a complete toolkit with wrenches, sockets, and screwdrivers in various sizes. These tools are vital for removing and installing various motorcycle components, allowing for adjustments and modifications with ease.
Next, consider investing in a quality torque wrench. This tool ensures that bolts are tightened to the manufacturer’s specifications, which is crucial for maintaining the safety and integrity of your motorcycle after modifications.
A reliable set of pliers, including needle-nose and wire-cutting pliers, will assist in handling electrical work, as well as general assembly tasks. For more precision work, a set of Allen wrenches is indispensable, particularly for working on modern motorcycles that utilize hex fasteners.
For cutting and shaping metal, a grinder and metal saw are essential. These tools enable you to customize frames, brackets, and other components. Additionally, a Dremel tool can be extremely useful for detailed work and fine adjustments.
Don’t overlook safety gear. Invest in gloves, safety glasses, and a well-fitted face shield to protect yourself while working with power tools and sharp materials.
For electrical modifications, a multimeter will help diagnose issues and ensure proper connections. You’ll also need electrical tape, heat shrink tubing, and various connectors to tidy up any wiring changes.
On the materials side, the type of motorcycle customization you choose dictates the materials you’ll need. Common options include metal sheets, tubing, and fiberglass for body modifications. Paint, primer, and clear coat are essential for finishing touches, allowing you to achieve the desired aesthetic for your bike.
Lastly, don’t forget about lubricants and cleaning products. Chain lube, engine oil, and cleaning solutions will help maintain your bike during and after modifications, ensuring long-lasting performance.
Step-by-Step Guide to Designing a Unique Motorcycle Aesthetic

Creating a distinctive motorcycle aesthetic involves a combination of personal taste, functionality, and attention to detail. To embark on this journey, follow these structured steps.
Step 1: Define Your Vision
Before diving into design, spend time contemplating the overall vibe you wish to achieve. Consider the type of motorcycle style that resonates with you – whether it’s vintage, modern, sport, or cruiser. Gathering inspiration from various sources such as online platforms, magazines, and motorcycle shows can help solidify your vision.
Step 2: Choose a Color Palette
Selecting a cohesive color scheme is fundamental to unifying your motorcycle’s aesthetic. Decide on primary and secondary colors that complement each other. Consider the psychological effects of colors and how they resonate with your style. Use tools like color wheels or online color palette generators to visualize combinations.
Step 3: Select Components and Accessories
Identify the key components that will define your motorcycle’s look, including the frame, fenders, fuel tank, and seat. Explore different materials and finishes such as chrome, matte, or polished surfaces. Accessories like mirrors, handlebars, and lighting fixtures also contribute significantly to the overall aesthetic.
Step 4: Personalize with Graphics and Decals
Add a unique touch by incorporating graphics, decals, or custom artwork. These elements can reflect your personality or interests, transforming your motorcycle into a canvas. Consider hiring a professional designer for complex designs to ensure high-quality results.
Step 5: Plan the Ergonomics
While aesthetics are important, don’t neglect functionality and comfort. Ensure that seat height, handlebar position, and foot peg placement accommodate your riding style and stature. Balancing aesthetic appeal with ergonomic considerations will enhance your riding experience.
Step 6: Mockup Your Design
Create a digital or physical mockup of your design. Use design software or sketch your ideas on paper to visualize how each element comes together. This step allows for easy adjustments before making any final decisions.
Step 7: Source Quality Parts
Research and purchase high-quality parts that match your design plan. Opt for reputable suppliers and consider custom options where available. Bear in mind that the materials and components you choose play a crucial role in the longevity and performance of your motorcycle.
Step 8: Assemble and Fine-Tune
Once you have all parts, begin the assembly process. Be meticulous in fitting each component and ensure they align with your vision. After assembly, take your motorcycle out for test rides to evaluate comfort and handling. Fine-tune elements as necessary to achieve the perfect balance of aesthetics and performance.
Step 9: Document Your Journey
Keep a detailed record of your design process, including sketches, parts used, and modifications made. This documentation can be beneficial for future reference and may help other enthusiasts who wish to undertake similar projects.
Step 10: Showcase Your Creation
Once your motorcycle reflects your unique aesthetic, find ways to showcase your work. Participate in motorcycle shows, online forums, or local meetups. Sharing your project inspires others and contributes to the community’s appreciation of custom motorcycles.